

Don’t panic if you can’t find the letters on your old mercury thermostat. They’re there and I’ll tell you how to find them.
I recently replaced my old White-Rodgers, mercury thermostat with a programmable Lux model TX9600TS, but not before I had a moment of panic. All the instructions and how-to videos say to note what wire is connected to what lettered connection point. I removed the face plate of my White-Rodgers and didn’t see any letters. Even the wires were lacking the colors that were referenced in the replacement instructions. Panic ensued. I fired off emails to Lux. I searched the web for information on White-Rodgers thermostats. I found little to nothing. I panicked some more.
If you find yourself in this situation, don’t panic. I’ve done that enough for the both of us. Here’s what you do. At this point, I’m supposed to tell you to be sure the power to the system is off before you start work. I’m not going to tell you that because if you’re that dumb, you’re too dumb to replace a thermostat. If you don’t know enough to kill the electricity, call a pro now before you kill yourself.
I apologize. Where was I? Oh, yes, don’t panic.
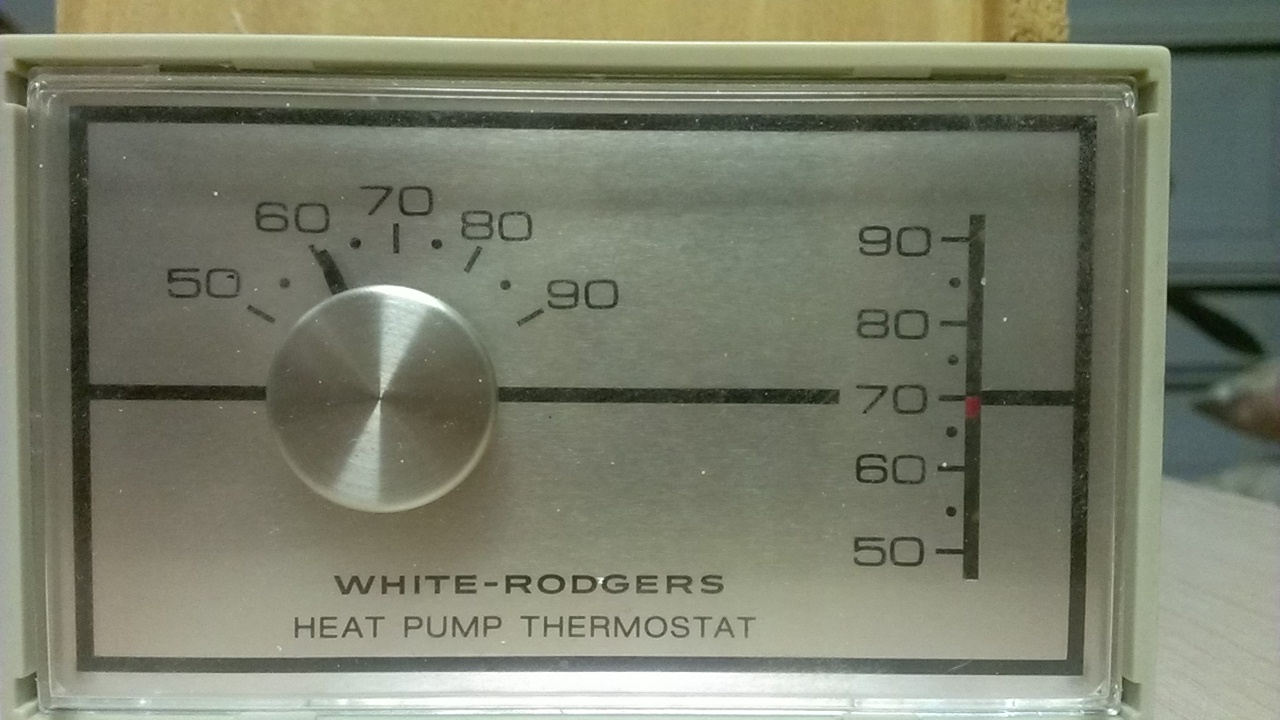
The lettered circuit board is behind the mercury switches. The old White-Rodgers is basically three layers: the face plate (figure 1), the switch plate (figure 2), and the circuit board or mounting plate (figure 3). The face plate is simple enough. It just pops off, no tools required. Removing the switches requires locating the four screws holding it to the circuit board. Once those are loose, carefully remove the switch plate. Remember, mercury is classified as a hazardous material. Don’t break the glass. Don’t toss it in the trash either. Contact your local recycling center for disposal instructions.
 |
 |
 |
Now you see the letters! Now you can follow the instructions. Note what color wire is attached to what lettered connection, disconnect the wires, and finish by removing the two mounting screws. Here endth the lesson on finding the letters on an old mercury thermostat. What follows are just some general, helpful installation hints. |
- Read the installation instructions completely before starting work. Every new model is a little different and one wrong wire connection can short your new thermostat.
- Watching a few how-to videos is helpful. Search YouTube and you’ll have more than enough to choose from.
- Have some painter’s tape handy. Use it to post your instructions & diagram on the wall next to your work area.
- Be careful when removing the old mounting plate. Don’t let the wires slip back into the wall. Painter’s tape is handy for holding them in place, too.
- Some digital thermostats like the Lux Tx9600TS have DIP switches for various options. You’ll need a very small tool to set the DIPs. A toothpick will work.
- You’ll probably need a very small Philips-head to secure the wire screws.
- Don’t forget to buy batteries for the new digital thermostat.
- Before you run out to buy a new digital model, be sure you know exactly what type of system you have. Not all digital thermostats are compatible with 1-stage or 2-stage heat-pumps.
- If you have any paint that matches your wall, you may want to paint before you install the new thermostat. Chances are the digital model is smaller than the old mercury model.
The only thing left to say is, “Turn off the power to the system before you start any work.”

Thank you!!!!!
Thank you! A little less panicked now.
My thermostat recently stopped working, I run into it and it stopped
Thank you, this is a very reaffirming post. Pulling mine apart has been difficult because it was painted over and abused. I didn’t know the switch plate came off circuit board, which makes perfect sense now.
Thank you the information I was searching for,
Could not believe the idiot before me use the Green wire on the W heating !!!!
Used the white on the G fan!!! and another white wire on Y
Waiting for A/C tech needless to say…
Thank You for this post! Happy that people take the time to share info about uncommon things like this type of old thermostat..I would never have known where to start so again thanks!!
You saved the day. I was indeed panicking. Also inventing new profanity.
Thank you so so very much, with all the bloody YouTube videos on how to. I can’t seem to find simple one that explains this, I truly was panicking. Thanks to you, I panic no more😊. I wish it was in the form of a video but I’ll take this..
My thermostat recently stopped working, I run into it and it stopped